Who Needs The Best Emergency Food Kit?
Who knows what the future holds? If only we knew, day to day, what challenges would arise, we would never be caught unawares. Unfortunately, life just doesn’t work that way. Those who prefer to look forward and make preparations for the “just in case” scenarios are often painted as fringe lunatics and doomsday preppers. However, assembling the best emergency food kit for yourself or your family should be something every responsible adult takes seriously. Just a few of the “normal” situations that could arise, when having emergency rations for your family would make sense, include: loss of a job, temporary lay off, extended storm damage or power outage that traps your family at home. Or perhaps you’d just like to be a position to help another family in need, should the opportunity arise. Then there are Armageddon type scenarios that plague the mind of some, and no better way to put those fears to rest than to look ahead and prepare for the worst. Whatever your reasons for looking forward and setting up emergency rations against a difficult time ahead, we are here to help you build the very best emergency food kit for your family.
Identifying Your Needs
First, lay out your preparation strategy. If you’re just getting started in emergency preparation, you may not have more than a day or two worth of food in your cupboard. If that’s the case, building up a thirty day supply of food is a good place to start. If you already have 30 days of emergency rations laid by, the next step may be building up a six month or year emergency food kit. The important thing is to start somewhere, and build your supplies up until you’ve assembled the best emergency food kit that you’re able.
Who Are You Feeding?
Do you have children in the house? Teens? Older or elderly adults? Infants will require special feeding accommodations like milk or formula, while the elderly may have some unique nutritional needs, as well. Map out on paper who you’re building a food supply for and any special things you need to prepare for them, or for yourself. Then consider what it takes to feed that person for a single day.
How Many?
Once you’ve written down what it takes to feed one person for one day, you’ll need to multiply that by the number of people, and the number of days for which you’re preparing.
What Do They Like To Eat?
There’s no need to live for a month on nothing but rice and beans. You don’t want to stock up on three months worth of food that your family won’t touch with a six-foot pole, just because it was cheap. It may keep you alive in a pinch, but you want to enjoy it, if possible. So take the likes and dislikes into consideration as you plan. Don’t forget to consider food allergies, as well. In an emergency situation, you wouldn’t want to face an allergic reaction from cross contamination, so better to avoid problem foods altogether, if possible.
Types Of Emergency Rations
There are dozens of ways to build up a great emergency food kit. The easiest, though certainly not the least expensive, is to invest in commercially prepared emergency rations, offered by various companies. These kits come as single servings, or a month’s worth of food for a single person. There are dozens of options to choose from.
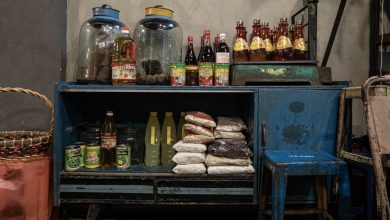
Another method, requiring a little planning and management, is to simply take what you buy and use on a weekly basis, and start building up a supply that will last. If you ordinarily use three cans of beans and two boxes of mac ‘n’ cheese and a jar of peanut butter each week, then begin buying double that, and set the extra aside for your emergency food kit. Then manage your stock by rotating it so that your food stays as fresh as possible. Freshness would be a significant advantage in a long-term disaster, where you’re relying on your emergency rations for months, or even years.
Once you’ve built up a few months supply of food, organize your cans and boxes with the soonest expiration date in the front and the furthest out in the back. Then, when you do your grocery shopping, put the new stuff in the back and use from the front. This keeps your stock fresh and ready to use if and when the need arises.
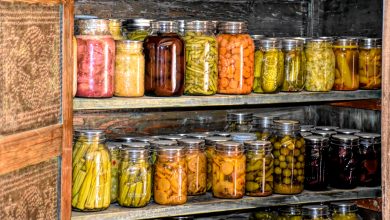
Home canning is another less expensive way to build up your emergency food kit. Canning is becoming a lost art, so if you’re not familiar with how to do it, you’re not alone. Canning food in glass jars requires a little learning and effort but can allow you to preserve tasty, homemade food for years. Be sure to learn which foods require pressure cooking versus water-bathing methods of preservation. Properly canned goods keep best in cool, dark places between 50 and 70 *F (10 – 21 *C) and are safe to eat for years after canning.
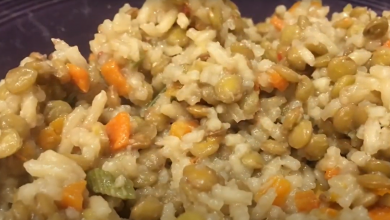
For bulk dry goods that are intended for long term storage, wheat, beans, rice, sugar and other dry goods can be vacuum sealed and stored in five gallon buckets with O2 absorbers to last for thirty years and more. For the truly prepared minded, a few buckets of wheat and corn will go a long way toward peace of mind.
A vacuum sealer is a good investment for anyone serious about their emergency rations. Sealing foods in smaller quantities not only preserves them longer but allows you to use them a little at a time, rather than having to use a large container up quickly once you’ve opened it.
If you’re worried about the expiration date on store-bought canned goods, keep this story in mind. A steamboat named the Bertrand was trying to reach Montana in 1865 when it sunk to the bottom of the Missouri river. One hundred years later, canned goods from that wreck were recovered. In 1974, 109 years after the accident, the food was tested by chemists and found safe to eat. You should use good sense when eating canned foods that have passed their expiration dates. If it looks odd, smells bad or tastes bad, don’t eat it!
Signs That The Food In Your Emergency Food Kit Has Gone Bad
Signs canned goods have gone bad: the can is bulging, or the lid has come unsealed. Check for mold or fermentation bubbles in the liquid. If the food rushes out of the can or jar when you open it, there is pressure on the contents that wasn’t there when the can or jar was sealed. This is a good indication of bacterial activity causing a chemical reaction.
Comfort Foods
Once you’ve established a good base for emergency rations, you might want to start thinking about adding some comfort foods to your store. In stressful situations, we all turn to food for comfort, and yummy food might not be easy to come by in the event of a disaster. Some things to store include:
- Chocolate – powdered cocoa keeps the best, but chocolate bars over 70% cocoa will keep for several months, and much longer if frozen. Hot chocolate mix has a shelf life of several years, and could easily be added to the rotation of your emergency food kit.
- Mac n’ cheese – Best preserved dried by separating the noodles and cheese, and then vacuum sealing them with O2 absorbers. If you’re worried about being able to cook macaroni and cheese, it can be canned, but it won’t have the same texture as freshly made. Under cooking the noodles before canning will help it to be less mushy.
- Honey – made with natural preservatives, honey will keep indefinitely, as long as water never gets near it. Store in very clean, very dry glass jars. If it crystallizes, you can return it to its liquid state with a little heat.
- Freeze dried fruit or dehydrated fruit can be a great energy booster and will keep well when stored properly.
- Hard candy – store with desiccants and vacuum sealing to provide a much needed pick me up under stressful conditions.
- Coconut oil, especially virgin coconut oil will store for a very long time and provide added fat for comforting recipes when butter isn’t available.
- Spices – if you get to a place where you’re having to make all of your food from what you have on hand, you’ll be very glad for some extra spices to… well… spice things up.
- Alcohol – Obviously, a comforting item, but it serves many purposes in a disaster scenario and it keeps well. High alcohol content (over 20%) will keep the longest and over 40% can serve as a disinfectant if needed.
- Tea – keeps well without special accommodations. To keep it the very freshest, store in small quantities with an O2 absorber.
- Coffee – For those who really need their cuppa to keep their chin up, coffee will be an important part of the very best emergency food kit. Roasted coffee keeps, vacuum sealed in Mylar bags, for up to two years. If you rotate it through your emergency rations, you will have good coffee for some time. For preparation beyond that, you can store green coffee beans in Mylar bags with O2 absorbers, then roast and grind them as needed.
What To Choose?
How to decide what goes into the very best emergency food kit? A good rule of thumb is six months to a year of food that you would eat every day. This is easily managed through good shopping and rotation. For preparation beyond that time frame, vacuum sealed Mylar bags will keep dry goods for years. Many companies and even faith-based family preparation programs offer dry goods preserved in #10 cans that will keep up to 30 years. Building an emergency food kit that can last several years in a pinch is possible, with planning and forethought.
Water will be critical to surviving certain types of disaster scenarios. When planning for emergency situations, one liter of water per person per day is a good starting point. You’ll need some extra for sanitation and cooking, as well. Be sure you have plenty of water on hand, or a way to obtain water and sanitize it. Sanitation tablets and filtration systems would be a major component of the best emergency food kit.
Looking Ahead
For total preparedness, it’s important to think ahead to food preparation during an emergency. If the power was out for three weeks, how would you cook that mac ‘n’ cheese you took such care to store? Even if you have a power generator for emergencies, stoves and microwaves pull too much energy to use the generator for cooking. A propane or butane camp stove with plenty of fuel cells, or a propane or charcoal grill are great options to have on hand. And don’t forget to include a manual can opener in your emergency food kit.
Where To Keep It?
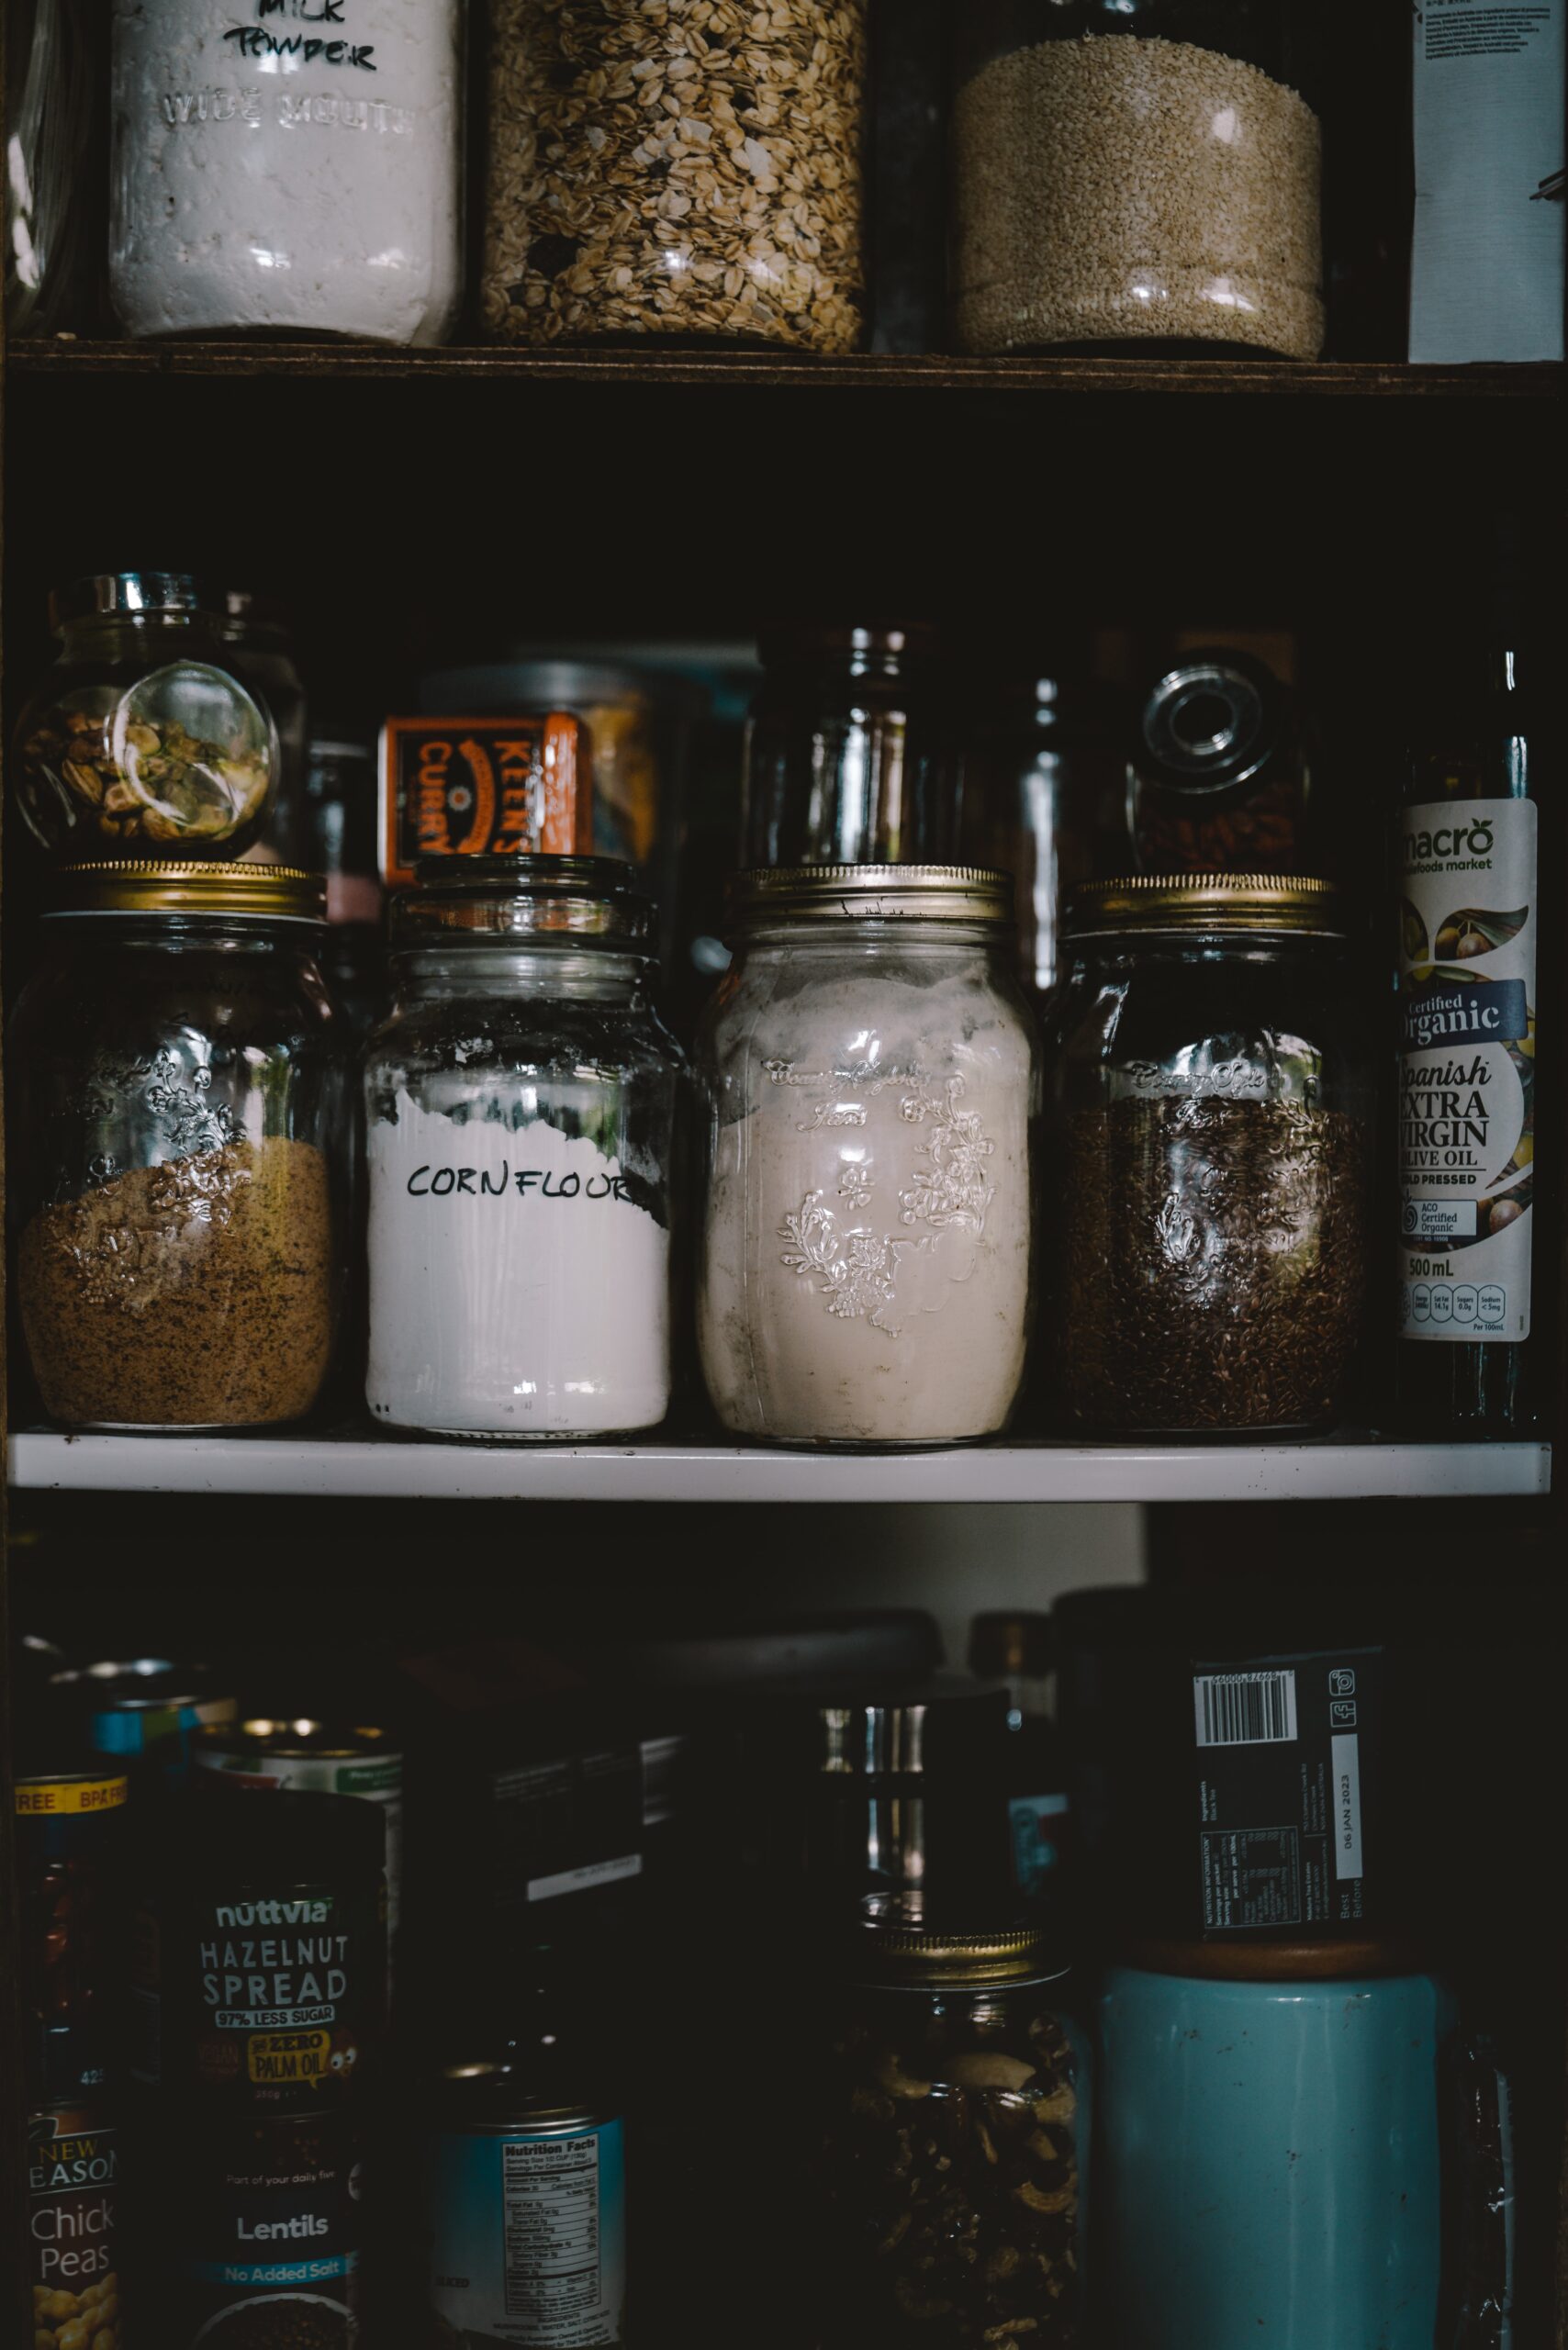
Storage space can be tricky, depending on your housing situation. If at all possible, you’ll want to designate a neatly organized room that’s specifically for food storage. You’ll label your shelves, and keep things nicely stocked and rotated. If you don’t live in this kind of fairy tale situation, you may have to get a little more creative about how you store your emergency food kit. A lot of food can be neatly stored, in cardboard boxes, under beds, in the bottoms or tops of closets, and under the stairs. You may need to reduce unnecessary clutter, to make room for emergency rations. The reward will be worth the effort.
Be Prepared, Not Scared
Taking the steps required to create the best emergency food kit that you possibly can will pay off in peace of mind. To know that you have the ability to care for those you love, and to be able to reach out to those around you in their time of need, will put you in a category reserved for just a few. You’ll rest easy at night, knowing that whatever tomorrow holds, your family is provided for.
Kelli is the owner of http://www.EverydayCarryGear.com and publisher of “The Best Emergency Food Kit”, one of the many articles designed to educate and help you the reader be prepared and ready for action in whatever survival situation you could find yourself in. If you enjoyed this article, I recommend heading over to website for some more great reads.
Article Source: https://EzineArticles.com
Photo by Jake Charles on Unsplash